


FEATURED Articles
Google’s Leadership on the Future of AI
Competitive pressure among tech giants is propelling society into the future of artificial intelligence, ready or not. Scott Pelley dives...
Read more


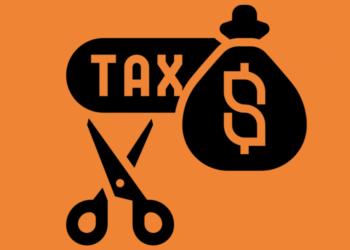
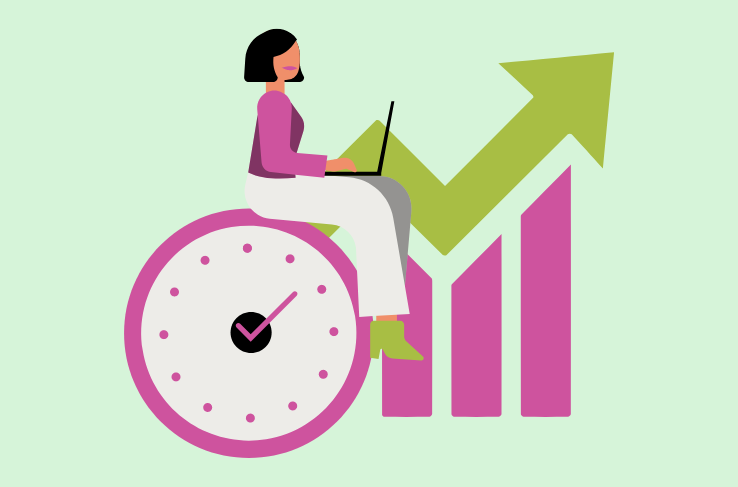
Tax Deductible Items for Women Self-employed and Entrepreneurs
Women entrepreneurship is one of the smart paths to accelerate the pace of narrowing the economic gender gap. In the current digitally connected world, work opportunities are increasing for women to either run a self-employed business or work from home as a freelancer. However, venturing into this...

Developing Confidence in Introverted Children
Who are introverts? From birth, people have either extroverted or introverted temperaments, and these characteristics frequently remain constant as they age.An introvert is “someone who loves peaceful, low-stimulation surroundings,” according to the website Introvert, Dear. Introverts typically feel exhausted after socializing, and discover that spending time alone makes...
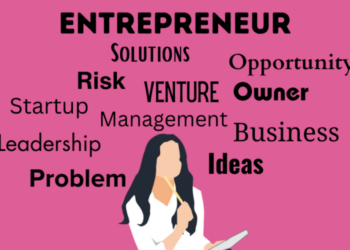
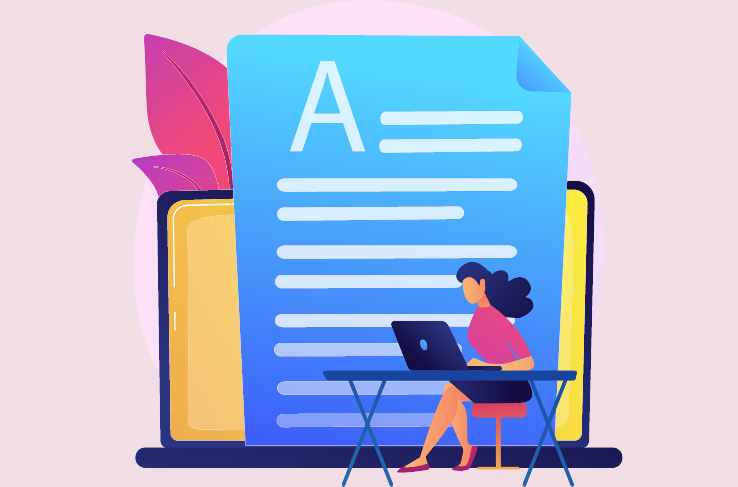
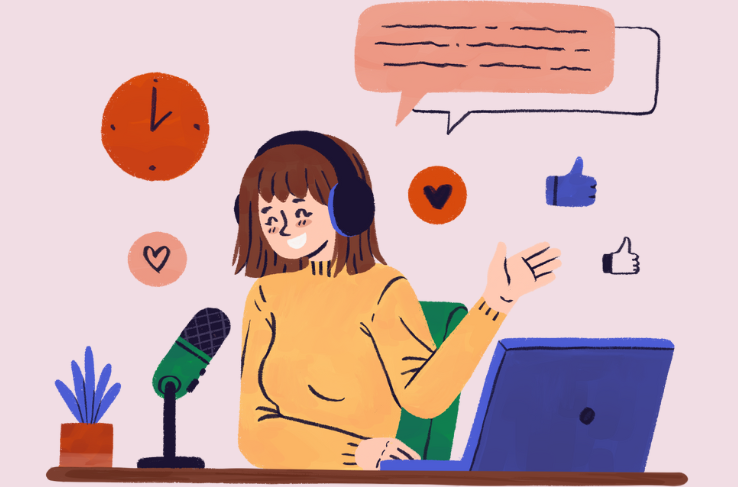
How to Be An Organized Entrepreneur
How to Be An Organized Entrepreneur The ongoing digital takeover has created immense opportunities for people to become entrepreneurs. With businesses moving digital, e-commerce taking over, and digital technology advancing, many young people, women, and moms are becoming entrepreneurs. Contrary to earlier times, starting a new business...
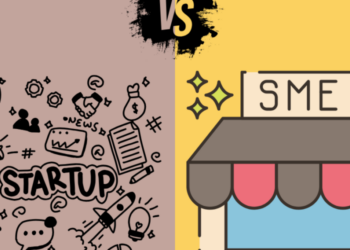
Startup vs. Small Business: The difference?
Startup vs. Small Business: The difference? Understanding the differences between startups and small businesses is crucial in today’s cutthroat business environment. Although occasionally used similarly, these phrases refer to corporate endeavours with distinctive characteristics, objectives, and strategies. This blog defines these distinctions by examining the associated challenges,...


© 2023 fujn.global